Creating time-lapse sequences of clouds and cityscapes
Clouds drift, traffic streams, signals change and buildings remain fixed. That contrast is the heart of an effective time-lapse sequence: viewers can read familiar places at a pace that reveals patterns hidden in real time. A guide to creating time-lapse sequences of clouds and cityscapes must combine patient observation with disciplined exposure control.
Every frame should belong to the same visual world. Changing colour temperature, autofocus hunting or clouds clipping to white can make a promising location look unstable. Choose one movement to emphasise, then control the other variables so weather, architecture and urban rhythm work together rather than competing for attention.
Australian locations offer strong subjects, but they also demand preparation. A clear Perth sky requires different exposure judgement from a humid Brisbane afternoon; a Melbourne laneway brings trams and pedestrians through frame; and summer heat can punish batteries and electronics. The process suits compact cameras, mirrorless bodies and rigs used by hobbyists and professionals.
Choosing a location with motion and structure
Begin by scouting movement, not merely scenery. Note where shadows cross, which windows catch the sun, how crowds gather and whether trees, cranes or aerials will move. A strong composition gives motion a fixed reference, preventing accelerated clouds and traffic from becoming an unreadable blur.
City character comes from specific layers, so avoid generic skyline shots. A Sydney Harbour foreground may suit slow cloud movement, while Melbourne’s trams create strong linear trails on wet roads. Brisbane’s subtropical skies reward watching for a shelf cloud; Perth’s dry light often produces clean silhouettes. Adelaide can pair low western light with distant hills.
Visit at the intended time of day and month, then make a simple plan for changing conditions. Establish a wide composition, a tighter alternative and a weather-safe backup position. Check foreground hazards, public access and the direction of the sun before committing to a long sequence.
Building a weather-resistant camera kit
Use a camera with reliable manual controls, a mechanical or electronic intervalometer, and a rigid tripod. A remote trigger or app can start the sequence, but test it fully before travelling. For independent context on imaging tools, the Sensorgraphy photography resources can inform a rental or purchase. Manual focus, fixed white balance and RAW capture provide the consistency needed for difficult transitions.
Power and storage deserve more attention than the camera body. Estimate file size and total shooting duration, then carry fast cards, spare charged batteries and a mains charger. A USB power bank or AC adapter can support long urban recordings, although a dummy battery may be more dependable than a generic USB supply.
Protect the sensor and controls with a rain cover, even when the forecast looks settled. Australian summer heat, dust and sudden temperature changes can cause condensation or battery shutdowns. Let cold gear acclimatise inside its bag, keep a lens cloth nearby and never expose a covered camera to a hot vehicle interior.
Setting exposure for changing skies
Lock exposure settings after composing and test them at the brightest and darkest expected moments. Use the histogram and highlight warnings rather than the camera’s rear-screen appearance, which can deceive outdoors. Slightly underexposed frames often protect cloud texture, while a fixed ISO keeps overall brightness stable.
For architecture, an aperture around f/8 or f/11 usually balances depth of field, diffraction and lens softness. Choose a shutter speed that produces the motion you want: roughly 1/4 to 1/2 second gives many cars attractive trails, while a short shutter can freeze cloud texture and make its movement look strangely static. Add a neutral-density filter if daylight demands a longer exposure.
Disable automatic ISO, autofocus and image stabilisation once the tripod is stable; some stabilisers shift the frame. Check for LED or fluorescent flicker under signs and windows, especially at night. If exposure must change, do it in deliberate steps and shoot a bracketed sequence around the difficult transition rather than letting settings drift.
Matching frame intervals to the subject
Frame interval determines how much real time each final image represents. A ten-second clip at 24 frames per second contains 240 frames: five-second intervals require twenty minutes of recording, while two-second intervals require only eight. Longer intervals compress less real time into the shot.
Clouds need room to move without making the sequence frantic. Judge apparent speed from the moving front edge rather than distant fragments, because angular motion increases closer to the camera. A strong wind may require wider spacing than a soft evening drift, and the city elements around the clouds can set a visual rhythm.
Urban traffic generally benefits from shorter intervals, especially when headlights and indicators form continuous paths. Pedestrians can strobe if their movement is too abrupt for the chosen frame rate. Record a short test, watch it at normal speed and adjust before committing to sunrise, golden hour or a full night sequence.
- Slow, high cloud drift: an interval of 5–8 seconds.
- Clear cloud motion or building shadows: 2–5 seconds.
- Subtle traffic and pedestrian movement: 2–4 seconds.
- Dense traffic, signals or night trails: 1–2 seconds.
Keeping cityscapes clean and controlled
Architecture supplies the visual anchor, but wide lenses can make its edges appear bowed or stretched. For urban views, a practical lens distortion explained guide helps you identify barrel distortion before deciding what to crop. Correcting the profile early prevents an irreversible loss of buildings at the frame edges.
Check reflections, construction cranes, illuminated signs and windows that flicker. Some changes are desirable features, particularly moving machinery, but aircraft, security vehicles or a single person crossing the skyline can distract. If a major distraction is expected, frame around it or record clean plates for masking.
Public access in Australian CBDs does not automatically grant unrestricted filming rights. For commercial work, ask the relevant council or property owner about permits and public liability insurance requirements. Keep tripods clear of footpaths, follow signage and avoid blocking cycle lanes; when scouting by car, remember that traffic keeps to the left.
Editing clouds, traffic, and architectural detail
Start the edit by sorting clips by location and lighting, then assemble the sequence at its intended playback speed. Cross-dissolving neighbouring frames creates smoother movement than hard cuts, while deliberate cuts can retain a stop-motion character. Do not hide every inconsistency, but remove frames that expose focus or exposure failures.
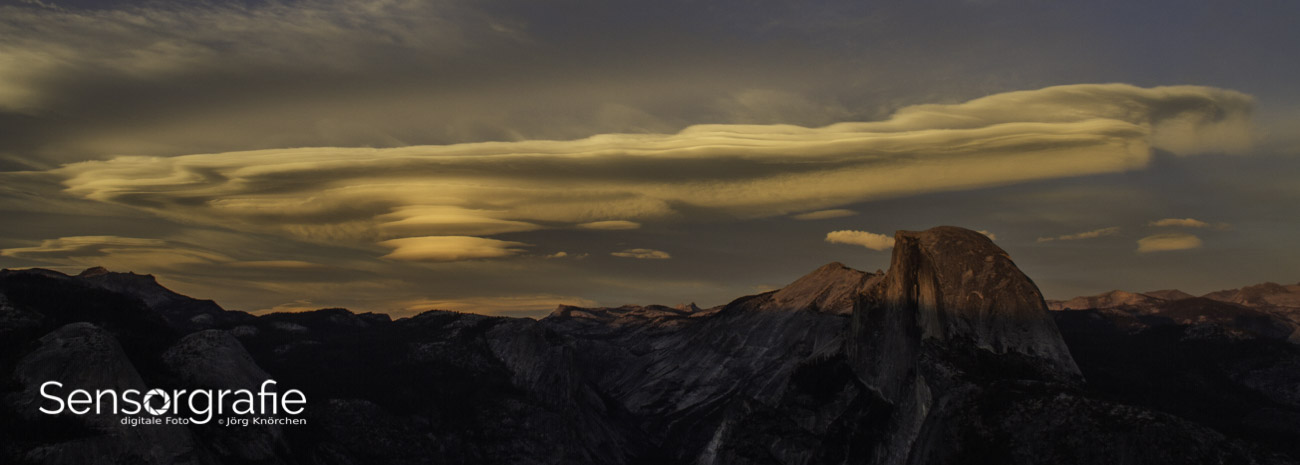
Cloud sequences benefit from selective contrast, colour and local masking rather than a heavy global effect. A restrained grade can preserve the cool foreground and warm break in a storm sky. For time compression, try changing frame spacing gradually so the viewer feels the weather accelerate without the city appearing detached from it.
City footage needs careful cleanup around moving people, duplicated signs and exposure jumps. Use masks, clean plates and stabilised shots where appropriate, avoiding artificial-looking removals. A landscape editing workflow can guide tonal correction and sharpening, but check architectural verticals after every crop.
Preparing, publishing, and preserving the sequence
Export a high-quality master, then create versions for the destination rather than uploading one compressed file everywhere. ProRes or an equivalent intermediate codec preserves grading flexibility; H.264 or HEVC is easier for web delivery. Australia’s common 25 fps broadcast convention is useful for compatible material, while 24 fps gives many creators a more cinematic rhythm.
Check cameras and accessories through Australian retailers such as CameraPro, digiDirect and JB Hi-Fi, or hire from a local rental house when a project does not justify ownership. Compare prices in Australian dollars and confirm GST-inclusive consumer pricing. For project-specific advice, compare rental inclusions, battery support and return times before choosing a local supplier.
- Master file: retain the original camera files and a lossless or high-quality sequence.
- Review copy: export H.264 or HEVC at the platform’s required resolution.
- Sound: add licensed music separately and preserve the silent original.
- Naming: include date, location, camera and sequence version.
- Backup: keep one working copy and two backups in separate locations.
Archive the project with its camera originals, project files, fonts, music licences and a short settings note. Test that the master opens correctly on another computer, then update the backup rather than replacing it. A structured archive makes future edits, re-edits and smaller online versions far easier.