How to Shoot a Panorama With Stitching and HDR Blending
A panoramic photograph can show a wider field of view than any single frame, while HDR blending preserves detail in bright skies and deep shadows. Combining these techniques creates a spacious, high-resolution image that feels closer to human vision than a conventional wide-angle exposure.
The process depends less on expensive equipment than on consistency. Every frame must share the same focus, white balance, aperture, and color rendering. When the scene also contains a wide dynamic range, careful bracketing becomes essential because stitching errors and exposure mismatches are much harder to repair later.
A successful workflow begins before pressing the shutter. Study the light, identify moving subjects, choose a stable viewpoint, and decide whether the finished image should be a natural-looking landscape or a more dramatic interpretation. The decisions made in the field will determine how easily the files can be combined on the computer.
Choose the Scene and Equipment
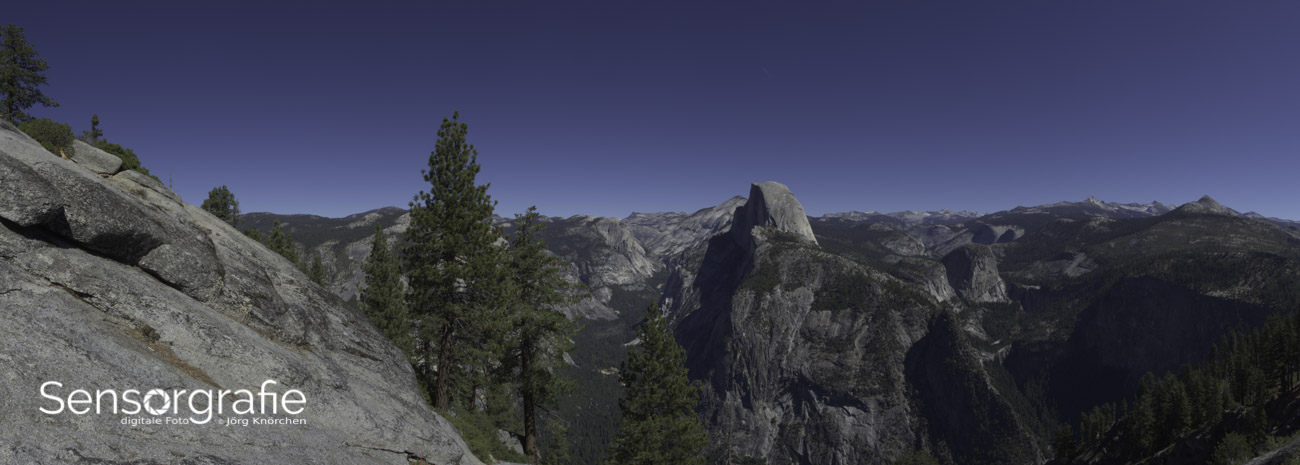
Look for subjects with strong visual structure across the frame. Mountain ranges, coastlines, city skylines, interiors, and architectural spaces all work well, especially when the foreground provides depth. A panorama becomes less convincing when the scene is completely flat or lacks a clear point of interest.
A tripod with a leveling base makes the process easier, though it is possible to work handheld in bright light. A panoramic head can help keep the camera aligned over the lens’s entrance pupil, often called the nodal point. This reduces parallax, a problem that appears when nearby objects shift against distant backgrounds as the camera rotates.
Use a normal or short telephoto lens when possible. Extremely wide lenses can produce strong distortion and leave fewer pixels for distant details. A focal length between roughly 35 mm and 85 mm in full-frame terms often provides a good balance between resolution, perspective, and manageable frame count. Keep the camera orientation consistent, and use a lens hood guide to reduce flare when the sun or a bright light source is near the edge of the composition.
Capture a Consistent Sequence
Mount the camera vertically when you want maximum height and resolution. Portrait orientation requires more frames, but it gives the final panorama greater flexibility for cropping and printing. Level the tripod carefully, then rotate the camera in a single direction with an overlap of approximately 30 to 50 percent between adjacent images.
Before making the sequence, switch from automatic to manual exposure. Meter the brightest important area and the darkest meaningful part of the scene, then select an aperture that provides the depth of field you need. Keep the aperture fixed throughout the panorama. Shifting exposure or depth of field from frame to frame creates visible changes after stitching.
Manual focus and a fixed white balance are equally important. Autofocus can adjust as the camera crosses a new subject, while auto white balance may produce different color casts in each image. Shoot RAW files, disable automatic corrections that alter the image unpredictably, and use a two-second timer or remote release to minimize vibration.
For HDR panorama capture, make a bracket at every camera position before rotating to the next position. A three-frame sequence at -2, 0, and +2 EV may be sufficient for moderate contrast. In a backlit landscape or bright interior, five frames spaced by one or two stops can provide more latitude. Keep the camera still between bracketed exposures and avoid changing the focus or composition.
| Shooting choice |
Practical setting |
Why it matters |
| Camera orientation |
Vertical for maximum height |
Provides more pixels and cropping room |
| Frame overlap |
About 30–50 percent |
Gives software enough matching detail |
| Exposure mode |
Manual |
Prevents brightness shifts between frames |
| Focus |
Manual after initial focus |
Keeps sharpness consistent |
| White balance |
Fixed Kelvin or preset |
Avoids color changes across the sequence |
| HDR bracket |
Three to five frames |
Captures highlights and shadows |
| File format |
RAW |
Preserves recovery and editing latitude |
| Moving subjects |
Capture quickly or separately |
Reduces ghosting and duplicated forms |
Plan for Motion and Parallax
Moving elements are the main reason a technically correct panorama may still look unnatural. Waves, tree branches, clouds, vehicles, and people can appear in different positions from frame to frame. The longer the sequence takes, the more likely these subjects are to create ghosts, repeated figures, or broken edges.
Use a shorter interval between exposures when the scene is changing quickly. For water, clouds, or crowds, take a clean reference frame of important areas if possible. That additional image can later be used to replace a distorted section manually. When shooting an HDR bracket, motion is even more difficult because each location requires several exposures before the camera moves.
Parallax is especially visible in interiors and scenes with strong foreground objects. A nearby railing, fence, tree trunk, or building edge may not align correctly even when distant scenery stitches perfectly. Keep the camera’s rotation axis close to the lens’s nodal point, or move farther away from foreground objects. A panoramic head is useful when precision matters, but careful handheld technique can work for distant landscapes.
Rotate around the camera’s optical axis rather than swinging the camera in an arc. Maintain the horizon near the same vertical position in each frame. If the tripod is not perfectly level, stitching software may need to stretch or crop the image aggressively, reducing final quality.
Build the Panorama and HDR Image
There are two reliable approaches to combining bracketed panorama files. The first is to merge each bracketed group into an HDR image, then stitch the resulting normal exposures or tone-mapped files. The second is to stitch every exposure level separately and combine the completed panoramas into an HDR image. Some applications also offer a direct HDR panorama function that performs both operations together.
Merging each camera position into an HDR image before stitching can simplify exposure transitions, especially when the scene has uneven lighting. However, tone mapping too early may produce halos or local contrast differences that become visible across the seams. A more controlled approach is often to create 32-bit HDR images or exposure-fused versions first, apply consistent adjustments, and stitch them afterward.
Stitching each bracket level separately preserves a straightforward relationship between files. If the -2 EV, 0 EV, and +2 EV panoramas align well, they can be combined like any other HDR set. The disadvantage is that stitching errors may differ between exposure levels, and software may crop each panorama slightly differently. Test both workflows when the scene is complex.
Before merging, synchronize lens corrections, chromatic aberration removal, profile adjustments, and basic white balance across all files. Do not apply different local edits to individual frames unless you are correcting a specific technical defect. Consistency is more important than making each source image look perfect on its own.
Control Tone, Color, and Seam Quality
After the panorama has been stitched, inspect the image at full resolution. Look along every seam, especially near straight architectural lines, tree branches, water horizons, and high-contrast edges. Common problems include doubled objects, abrupt changes in brightness, repeated clouds, and visible transitions in the sky.
Use the stitcher’s projection controls to choose the most natural geometry. Cylindrical projection works well for wide horizontal scenes, while perspective projection can retain a familiar appearance over narrower fields of view. Spherical or equirectangular projection is useful for very wide views, but it may stretch objects near the edges. Crop only after the projection and distortion have been corrected.
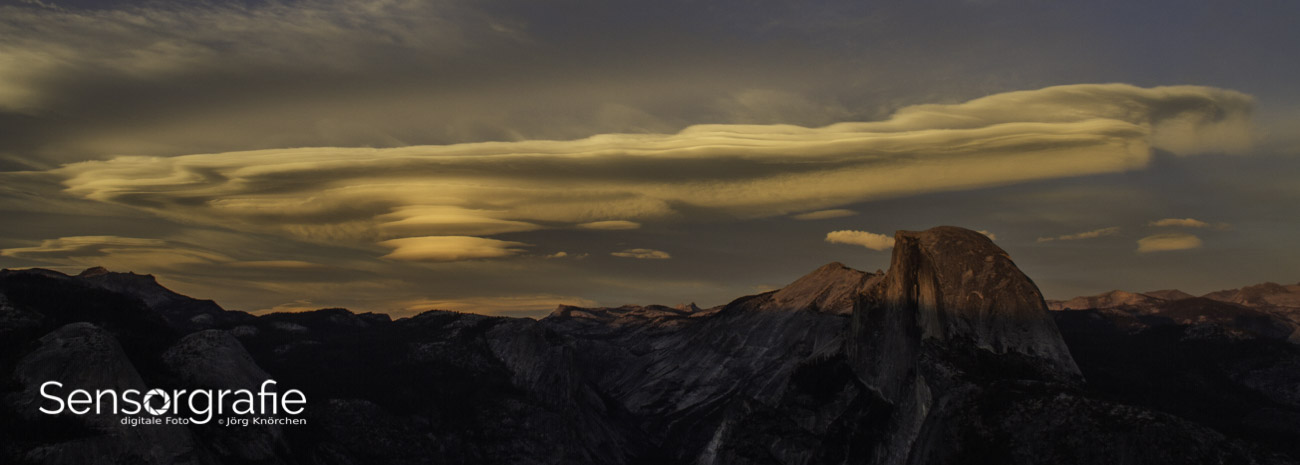
HDR processing should protect highlights without making shadows appear unnaturally bright. Lowering highlights, opening shadows, and adding moderate local contrast can produce a realistic result. Excessive clarity, saturation, or dehazing often creates halos around mountains and buildings. A panoramic image already contains strong visual information, so restrained adjustments usually look more convincing.
When the sky is the primary problem, consider luminosity masks or a carefully controlled exposure blend rather than aggressive global tone mapping. Keep color temperature and tint uniform across the image. If a seam remains, use a layer mask and a soft brush to reveal a clean section from a neighboring frame. Clone and healing tools are useful for removing small moving objects after the major blend is complete.
Fine-Tune the Final File
Panoramas often have unusual proportions, so output decisions should be made early enough to guide editing. A long horizontal file may suit a wall print or website banner, while a taller crop can work better for social media or a gallery presentation. Keep the original stitched master file before creating smaller versions.
Check the edges for stretched subjects and empty triangular areas created by camera movement. Content-aware fill can repair small gaps, but large repairs may look artificial. Cropping is usually the cleanest solution. If the horizon curves unnaturally, return to the projection settings instead of trying to straighten it with heavy local distortion.
Sharpen after resizing for the intended output. Apply noise reduction before sharpening, particularly when the darkest HDR bracket has been lifted substantially. Export a 16-bit TIFF or another high-quality master for future editing, then create an sRGB JPEG for general web use. Save the original RAW files, the stitched panorama, and the layered blend if the project may be printed later.
The same disciplined approach works for night scenes, although HDR bracketing becomes less common when stars are involved. For long exposures and moving celestial subjects, a dedicated star trails tutorial can help with planning, focus, exposure, and sequencing. A night panorama may also require separate foreground and sky captures because the optimal settings for each are very different.
Field Checklist for Reliable Results
A repeatable checklist reduces mistakes when the light is changing quickly. Before the first exposure, confirm that the battery and storage card can handle the full sequence. A panorama with five bracketed exposures across eight positions creates 40 source files, and higher-resolution cameras can fill a card quickly.
During the capture, avoid touching the zoom ring or changing the camera’s orientation between brackets. If you must pause, record the sequence order or photograph your hand in front of the lens for a frame that can be discarded later. This is particularly useful when working in darkness or when several panoramic sets are captured from the same location.
- Level the tripod and select portrait orientation when extra height is useful.
- Set manual exposure, manual focus, fixed white balance, and RAW capture.
- Overlap neighboring frames by roughly one-third to one-half.
- Complete every HDR bracket before rotating to the next position.
- Photograph a clean reference frame for important areas containing motion.
Panoramic HDR work rewards deliberate capture more than complicated software. Good overlap, stable exposure, and thoughtful handling of moving subjects give stitching programs the information they need. Once those foundations are correct, the computer becomes a tool for refining the image rather than rescuing it.
Experiment with a simple landscape before attempting a crowded city scene or a difficult interior. Review the stitched result at full size, identify where alignment or blending failed, and adjust the next field sequence accordingly. Publish the strongest panorama in a gallery, refine it for print, or explore further digital imaging guides on Sensorgraphy.net to develop a workflow that matches your camera and editing software.