Understanding the Exposure Triangle in Everyday Photography
A well-exposed photograph begins with a conversation between three camera settings: aperture, shutter speed, and ISO. Together, they determine how much light reaches the sensor and how that light is recorded. These controls also shape the appearance of an image, affecting background blur, motion, sharpness, and visible noise. Learn more about Review Adobe Lightroom Classic Vs Capture One Pro.
Learning this relationship is more useful than memorizing isolated settings. A camera can often suggest a technically acceptable exposure, but it cannot know whether you want a waterfall to look silky, a dancer to freeze in midair, or a portrait background to dissolve into soft color. Creative decisions begin when you understand which setting should take priority.
The exposure triangle provides a practical way to make those decisions. Each adjustment has a benefit and a cost, and changing one side often requires a compensating change to another. Once this becomes familiar, manual exposure feels less like a technical obstacle and more like a direct way to control the mood and structure of a photograph.
How The Three Settings Work Together
Aperture is the opening inside the lens. It is expressed in f-stops such as f/1.4, f/2.8, f/5.6, and f/11. A smaller f-number means a wider opening, allowing more light to pass through. A larger f-number means a narrower opening and less light. Aperture also controls depth of field: wide apertures usually create a shallow area of sharpness, while narrow apertures keep more of the scene in focus.
Shutter speed determines how long the sensor is exposed to light. A speed of 1/1000 second can freeze fast movement, while 1/15 second allows more light in but increases the risk of camera shake or subject blur. Shutter speed is therefore both a brightness control and a motion-control tool.
ISO adjusts the sensor’s sensitivity or, more accurately in modern digital cameras, the amplification applied to the captured signal. A low ISO, such as 100, generally produces the cleanest files. Raising ISO makes handheld photography possible in dim conditions, but it can introduce luminance noise, color noise, and reduced detail. The three settings overlap in exposure but produce different visual consequences.
Aperture And Depth Of Field
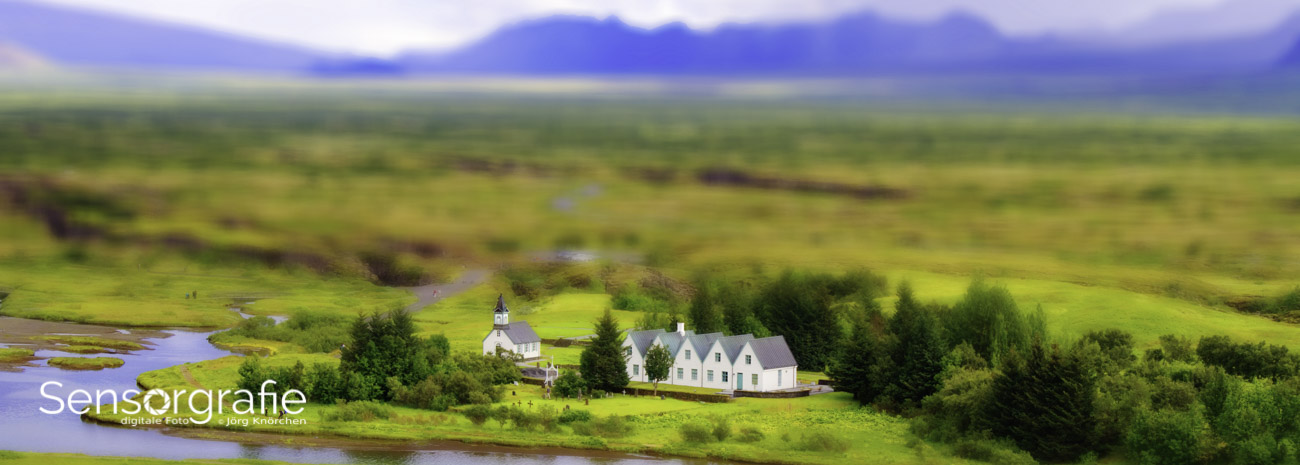
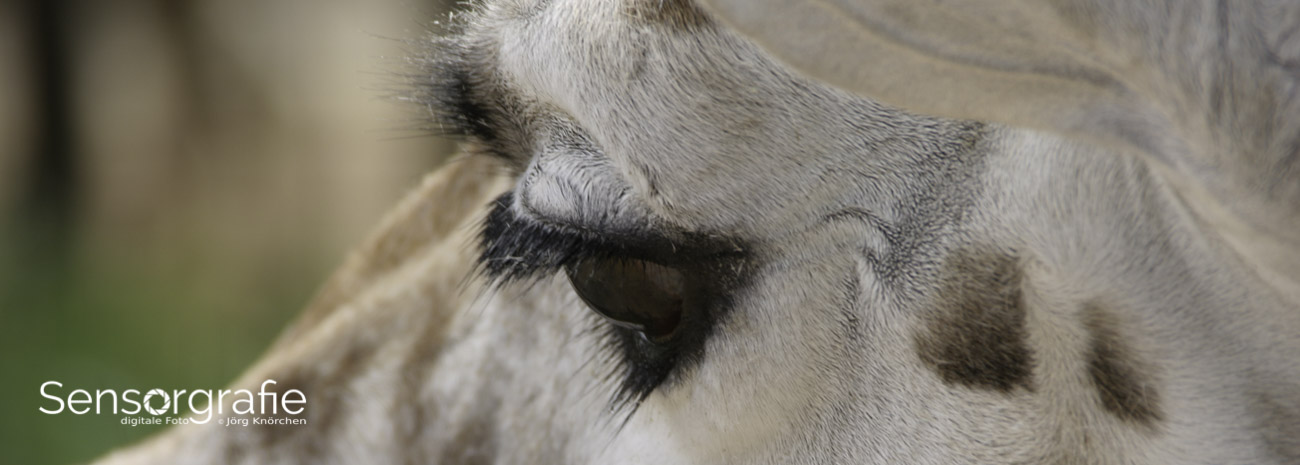
Aperture is often the most important setting for portraits, still life, and close-up photography. At f/1.8, a subject’s eyes may be sharp while the ears and background gradually soften. This separation can draw attention to the person and simplify a distracting environment. The effect depends on focal length, focusing distance, sensor size, and the distance between the subject and background.
A narrow aperture is useful when the scene needs extensive sharpness. Landscape photographers may choose f/8 or f/11 to balance depth of field and lens performance, while architecture photographers often stop down to keep foreground and distant structures clear. Very small apertures, such as f/22, can increase depth of field but may soften the image through diffraction, so the smallest available f-number is not automatically the best choice.
Lens design also affects the character of out-of-focus areas. Two lenses set to the same aperture may render highlights and background shapes differently. When reviewing camera equipment, pay attention to maximum aperture, focusing performance, and bokeh as well as sharpness charts. These factors influence how much creative control a lens provides in real shooting situations.
Shutter Speed And Motion
Shutter speed should be selected according to the movement in the frame and the visual effect you want. For a stationary subject, 1/125 second may be sufficient with a moderate focal length. A running child, flying bird, or sports player may require 1/500, 1/1000, or even faster. Image stabilization can reduce blur caused by your hands, but it cannot stop a moving subject.
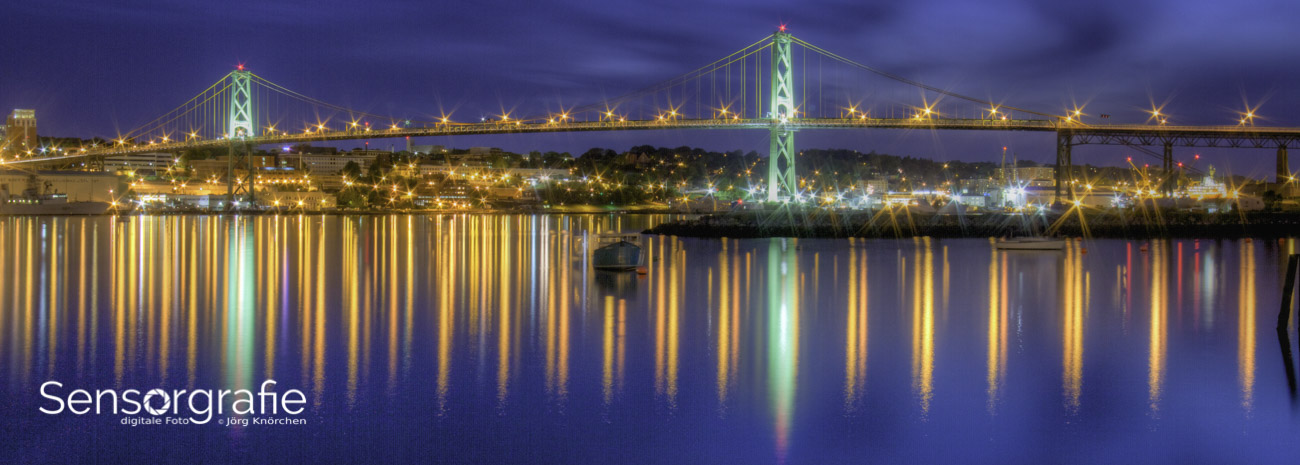
Long exposures create a different language. A slow shutter speed can turn flowing water into smooth ribbons, stretch headlights across a road, or record movement as a deliberate blur. A tripod, remote release, or self-timer helps keep the camera steady. For exposures lasting several seconds, use electronic shutter options carefully, since some lighting conditions can produce flicker or banding.
The reciprocal rule offers a starting point for avoiding handheld camera shake: with a 50mm lens, begin around 1/50 second; with a 200mm lens, begin around 1/200 second. This is not a strict law. High-resolution sensors, image stabilization, personal technique, and the subject’s movement all affect the final result. Review images at full size and adjust your minimum shutter speed accordingly.
ISO And Digital Image Quality
ISO is the setting that often saves a photograph when there is not enough light for the desired aperture and shutter speed. Raising ISO from 100 to 200 is one stop, as is moving from 400 to 800 or from 3200 to 6400. Each increase doubles the amplification of the captured signal, allowing a faster shutter speed or smaller aperture under the same lighting conditions.
Higher ISO does not automatically ruin an image. Current cameras can produce very usable files at ISO 1600, 3200, or higher, especially when exposure is accurate. Underexposing a high-ISO image and brightening it heavily in software can reveal more noise than using a higher ISO in the camera. Expose carefully, protect important highlights, and judge noise at the size and purpose for which the image will be viewed.
Raw files provide greater flexibility for recovering shadows, adjusting white balance, and controlling noise during post-processing. Software choice also matters. Photographers comparing editing workflows can explore this Lightroom and Capture One review, although the link’s subject should always be checked carefully before publishing or sharing it. In a practical workflow, noise reduction, sharpening, lens corrections, and selective masking can make high-ISO images considerably more polished.
| Setting |
Increasing It Does |
Main Creative Effect |
Common Cost |
| Aperture opening |
Lets in more light |
Shallower depth of field and stronger background blur |
Less of the scene remains sharp |
| Shutter speed |
Usually reduces exposure time |
Freezes movement more effectively |
Requires more light and may darken the image |
| ISO |
Amplifies the recorded signal |
Makes a faster shutter or smaller aperture possible |
More noise and potentially less dynamic range |
Balancing Exposure In Real Situations
Suppose a portrait is correctly exposed at f/2.8, 1/250 second, and ISO 100, but you want greater depth of field. Changing to f/5.6 reduces the light by two stops. To preserve the same brightness, you could slow the shutter to 1/60 second, raise ISO to 400, or divide the adjustment between both settings.
The correct choice depends on the subject. For a stationary portrait, 1/60 second might be fine if the photographer holds the camera steadily, but a lively subject may move during the exposure. Raising ISO to 400 could preserve the faster shutter speed with little visible penalty. For a landscape on a tripod, slowing the shutter may be the most sensible solution.
This is the central practical lesson: there is rarely one correct exposure combination. Several combinations can produce similar brightness, but they will not produce identical images. One may freeze motion, another may blur it, and a third may alter the depth of field. Exposure compensation in aperture priority or shutter priority modes is also useful when the meter consistently interprets a bright or dark scene incorrectly.
Metering, Histograms, And Manual Control
Camera meters estimate exposure by examining the brightness of the scene. Evaluative or matrix metering works well in many situations, while center-weighted metering can be useful when the subject is central. Spot metering measures a small area and helps with backlit subjects, high-contrast scenes, or precise readings from a face or gray card.
The histogram gives a more reliable view than the rear screen alone, particularly in bright sunlight. A graph crowded against the left edge suggests crushed shadows, while a graph pressed against the right edge may indicate clipped highlights. Neither edge is automatically wrong, but important detail should be preserved where it matters. Zebra patterns, highlight warnings, and electronic viewfinders can provide additional feedback.
Manual exposure is valuable when lighting remains consistent across several frames. It prevents the meter from changing settings as the composition shifts from a dark background to a bright one. Aperture priority is convenient when depth of field matters, and shutter priority is effective when motion must be controlled. The best mode is the one that keeps the most important creative variable under your control.
Applying The Triangle To Flash Photography
Flash adds another layer because ambient exposure and flash exposure can be adjusted separately. Shutter speed primarily controls the amount of ambient light recorded, while aperture influences both ambient light and the flash’s effect on the subject. ISO affects the sensitivity of the entire system, making it possible to reduce flash power or work at greater distances.
When using a speedlight indoors, begin by deciding how much of the room’s existing light should appear. A slower shutter speed can preserve background atmosphere, while a faster speed can make the scene look darker and the flash more dominant. Stay within the camera’s normal flash synchronization range unless using high-speed sync, which allows flash photography at faster shutter speeds but may reduce effective flash power.
Beginners building a portable lighting kit can compare affordable speedlights with attention to guide number, tilt and swivel movement, wireless control, battery life, and compatibility with the camera system. The most useful flash is not necessarily the most powerful one; reliable controls and flexible positioning often have a greater effect on learning and image quality.
A Practical Decision Process
Instead of changing settings randomly, decide which visual quality matters most. If the subject’s movement is critical, choose shutter speed first. If background separation or overall sharpness is the priority, begin with aperture. Then adjust the remaining settings until the meter, histogram, and preview indicate an appropriate exposure.
Use this quick set of habits when practicing:
- Choose shutter speed first for sports, wildlife, children, dance, and moving vehicles.
- Choose aperture first for portraits, landscapes, macro work, and architectural scenes.
- Keep ISO as low as practical, but raise it before accepting motion blur or excessive camera shake.
- Check highlights and shadows after important frames, especially in high-contrast lighting.
- Review the image at full size and ask whether blur, noise, or limited depth of field supports the subject.
The best way to develop instinct is to repeat the same scene while changing one variable at a time. Photograph a subject at several apertures, then repeat the exercise with different shutter speeds and ISO values. Compare the files on a calibrated monitor if possible. This reveals how settings affect the image more clearly than abstract numbers can.
From Correct Exposure To Intentional Images
A technically balanced exposure is only the starting point. Creative exposure may deliberately preserve bright highlights, allow shadows to become silhouettes, or use a slow shutter to express energy. The goal is not always to record every detail. The goal is to choose which visual information supports the photograph.
Portfolio presentation also influences how viewers judge your technical choices. A carefully organized professional photography portfolio can show consistency across different lighting conditions and subjects. Include examples that demonstrate controlled motion, intentional depth of field, clean high-ISO work, and thoughtful use of flash rather than displaying only technically perfect but unrelated images.
Practice with a clear purpose: select one subject, define the visual effect you want, and use the exposure triangle to achieve it. Review the result, identify which setting created the strongest limitation, and make a deliberate adjustment on the next frame. Spend time applying these decisions in real light, refine your workflow in post-processing, and build a portfolio that shows how confidently you control every exposure.